May 21, 2026
DIY in 15 Minutes: How to Install a 4-Inch Centerset Bathroom Faucet Without Calling a Plumber (Even for RVs and Farmhouse Sinks)
Learn how to install a 4-inch centerset bathroom faucet yourself in just 15 minutes. No plumber needed — perfect for RVs, farmhouse sinks, powder rooms, and rentals. Step-by-step guide included. Does the...
Learn how to install a 4-inch centerset bathroom faucet yourself in just 15 minutes. No plumber needed — perfect for RVs, farmhouse sinks, powder rooms, and rentals. Step-by-step guide included.
Does the thought of replacing a bathroom faucet make you reach for your phone to call a plumber? You’re not alone. Many homeowners assume faucet installation requires special tools, advanced skills, or a professional’s touch. But here’s the truth: with the right faucet and a little guidance, you can do it yourself in 15 minutes or less.
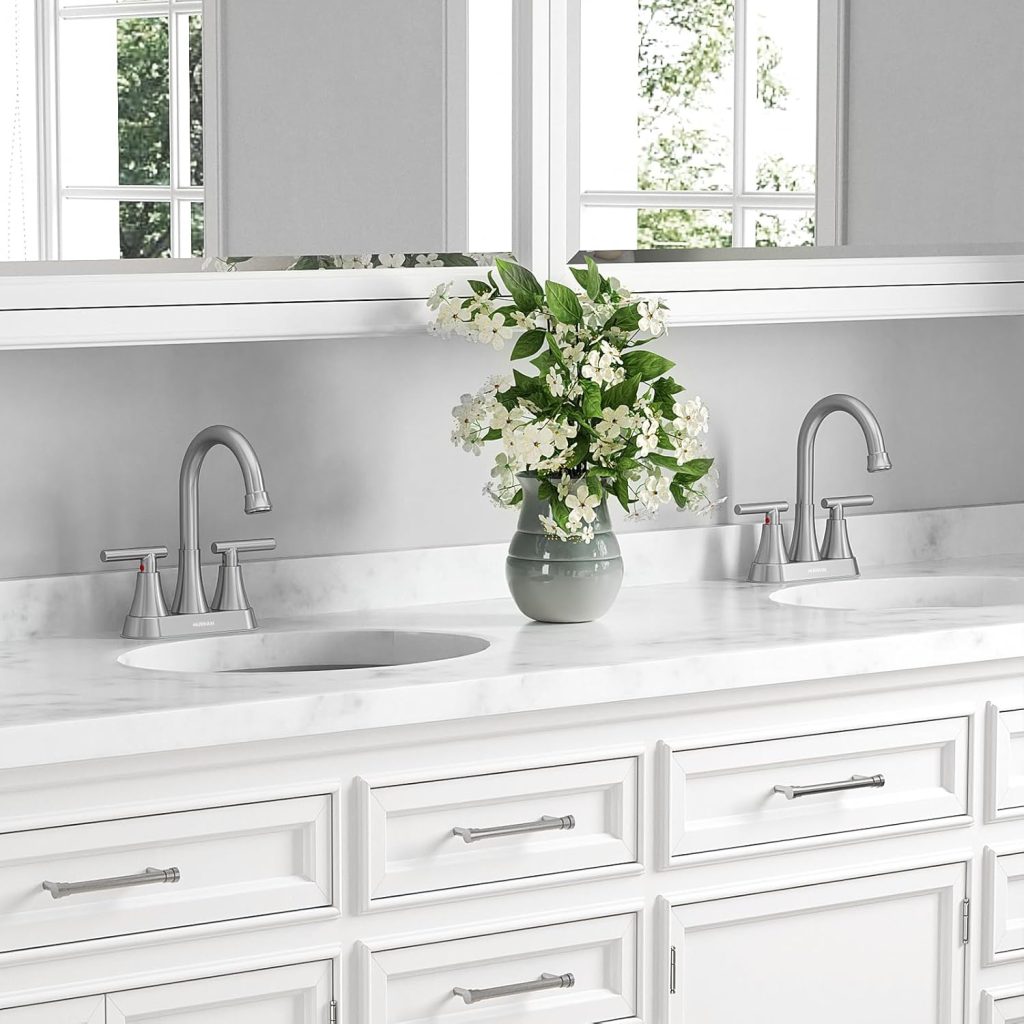
Today, we’re walking you through the installation of a 4-inch centerset bathroom faucet — the most common standard for three-hole bathroom sinks. And yes, this guide works for RVs, travel trailers, camper vans, farmhouse bathrooms, powder rooms, and rental properties.
Let’s save you time, money, and the headache of waiting for a plumber.
What You’ll Need
Before starting, gather the following tools and parts:
New 4-inch centerset bathroom faucet (preferably with pre-attached water supply lines and a pop-up drain assembly — like our Hurran model)
Adjustable wrench
Plumber’s tape (Teflon tape)
Bucket or small towel (to catch water)
Flashlight (optional, for under-sink visibility)
Screwdriver (flathead or Phillips, depending on your faucet’s mounting nuts)
Most modern faucets, especially those with unique patented designs, come with mounting hardware, supply lines, and a matching drain — so you won’t need to buy extra parts.
Step-by-Step Installation (4 Steps – 15 Minutes)
Step 1: Turn Off Water Supply & Remove Old Faucet
Locate the shut-off valves under the sink (usually two — hot and cold). Turn them clockwise to close.
Turn on the faucet to release any remaining water pressure.
Place a bucket or towel under the trap to catch drips.
Disconnect the old water supply lines from the shut-off valves using an adjustable wrench.
Remove the old faucet’s mounting nuts from underneath the sink. The old faucet should lift out from above.
Pro tip: If the old nuts are rusted or stuck, spray a little penetrating oil and wait 2 minutes.
Step 2: Prepare the New Faucet
If your new 4-inch centerset faucet comes with pre-installed ceramic cartridges and lever handles, leave them as is.
Apply plumber’s tape to the threads of the faucet shanks (the two tails that go through the sink holes). This prevents future leaks.
Insert the faucet through the three holes on your sink or countertop. The two outer holes are for the hot/cold handles, and the center hole is for the spout or base.
For RV or farmhouse sinks: The same steps apply. Just ensure your counter thickness does not exceed 1.2 inches — most 4-inch centerset faucets support up to that thickness.
Step 3: Secure the Faucet & Connect Water Lines
From underneath the sink, tighten the mounting nuts onto the faucet shanks. Hand-tighten first, then use a wrench for a snug fit — don’t overtighten.
Connect the pre-attached 24-inch hot/cold supply lines to your shut-off valves (red to hot, blue or marked to cold). Hand-tighten, then give a quarter turn with a wrench.
Install the matching pop-up drain with overflow and built-in strainer:
Insert the drain body into the sink hole.
Tighten the lock nut from below.
Connect the lift rod according to the manual (usually a simple clamp and screw).
Step 4: Test for Leaks & Enjoy
Turn the water supply valves back on slowly.
Check all connections underneath for drips.
Operate both 90-degree lever handles — hot and cold — to run water for 30 seconds.
Test the pop-up drain and swivel the 360-degree high-arc spout to ensure smooth movement.
That’s it. In four simple steps and under 15 minutes, you’ve installed a brand-new, water-saving, lead-free bathroom faucet — no plumber required.
Why This Works for RVs, Campers, and Farmhouse Sinks
You might think a standard residential faucet won’t fit a mobile home or farmhouse sink. But a 4-inch centerset design is incredibly versatile:
RVs & Travel Trailers – Most RV bathroom sinks use the same 4-inch spacing. The lightweight stainless steel construction holds up to road vibrations, and the 1.2 GPM aerator saves precious water when boondocking.
Farmhouse & Apron Sinks – The tall 5.2-inch spout height with 4.8-inch reach clears deep farmhouse basins, while the brushed nickel finish hides water spots.
Laundry Rooms & Rental Houses – Easy installation means quick turnover between tenants. No plumber visits needed.
Pro Tips for a Truly Leak-Free, Long-Lasting Installation
Don’t skip the plumber’s tape – especially on the drain threads.
Use the no-flow replaceable aerator – if your faucet came with two aerators (one 1.2 GPM water-saving, one higher flow), install the one that matches your water pressure needs.
Check deck thickness – For thicker countertops (up to 1.2 inches), make sure your faucet’s mounting hardware can reach. Most quality faucets include extension nuts.
Test the pop-up drain – The built-in strainer is great for catching hair and debris, but ensure the seal is tight to prevent leaks.
Final Thoughts
Installing a 4-inch centerset bathroom faucet is one of the most rewarding DIY projects. It’s fast, requires no special skills, and instantly upgrades the look and function of your sink. Plus, with water-saving technology (CEC-registered) and lead-free stainless steel, you’re making a smart choice for your home, your family, and the environment.
So next time your old faucet starts dripping — or you simply want a modern brushed nickel upgrade — skip the plumber. Grab your wrench, set a timer for 15 minutes, and enjoy the satisfaction of doing it yourself.
More Insights
Related Blogs
May 21, 2026
How to Save 20% Water Without Compromising Performance – The Science Behind Our 1.2 GPM Bathroom Faucet
Water conservation is no longer just an environmental buzzword – it’s a necessity. In many regions, especially across Europe and North America, water bills are rising, and eco-regulations are tightening. But for...
Read Article
May 21, 2026
Lead-Free & CEC-Registered: Why Choosing the Right Bathroom Faucet Matters for Your Family’s Health and the Environment
When renovating a bathroom or upgrading a powder room, most homeowners focus on style, finish, and price. But there are two far more important factors that often go unnoticed — until it’s...
Read Article
May 22, 2026
test1111223344
Water conservation is no longer just an environmental buzzword – it’s a necessity. In many regions, especially across Europe and North America, water bills are rising, and eco-regulations are tightening. But for many homeowners and property managers, the fear of “water-saving” faucets has always been the same: weak flow, splashing, and a frustrating hand-washing experience
Read Article
May 7, 2026
How Zetop Handles OEM Faucet Projects
A short look at how Zetop supports OEM faucet sourcing, sampling, and production handoff for overseas buyers.
Read Article